


Description
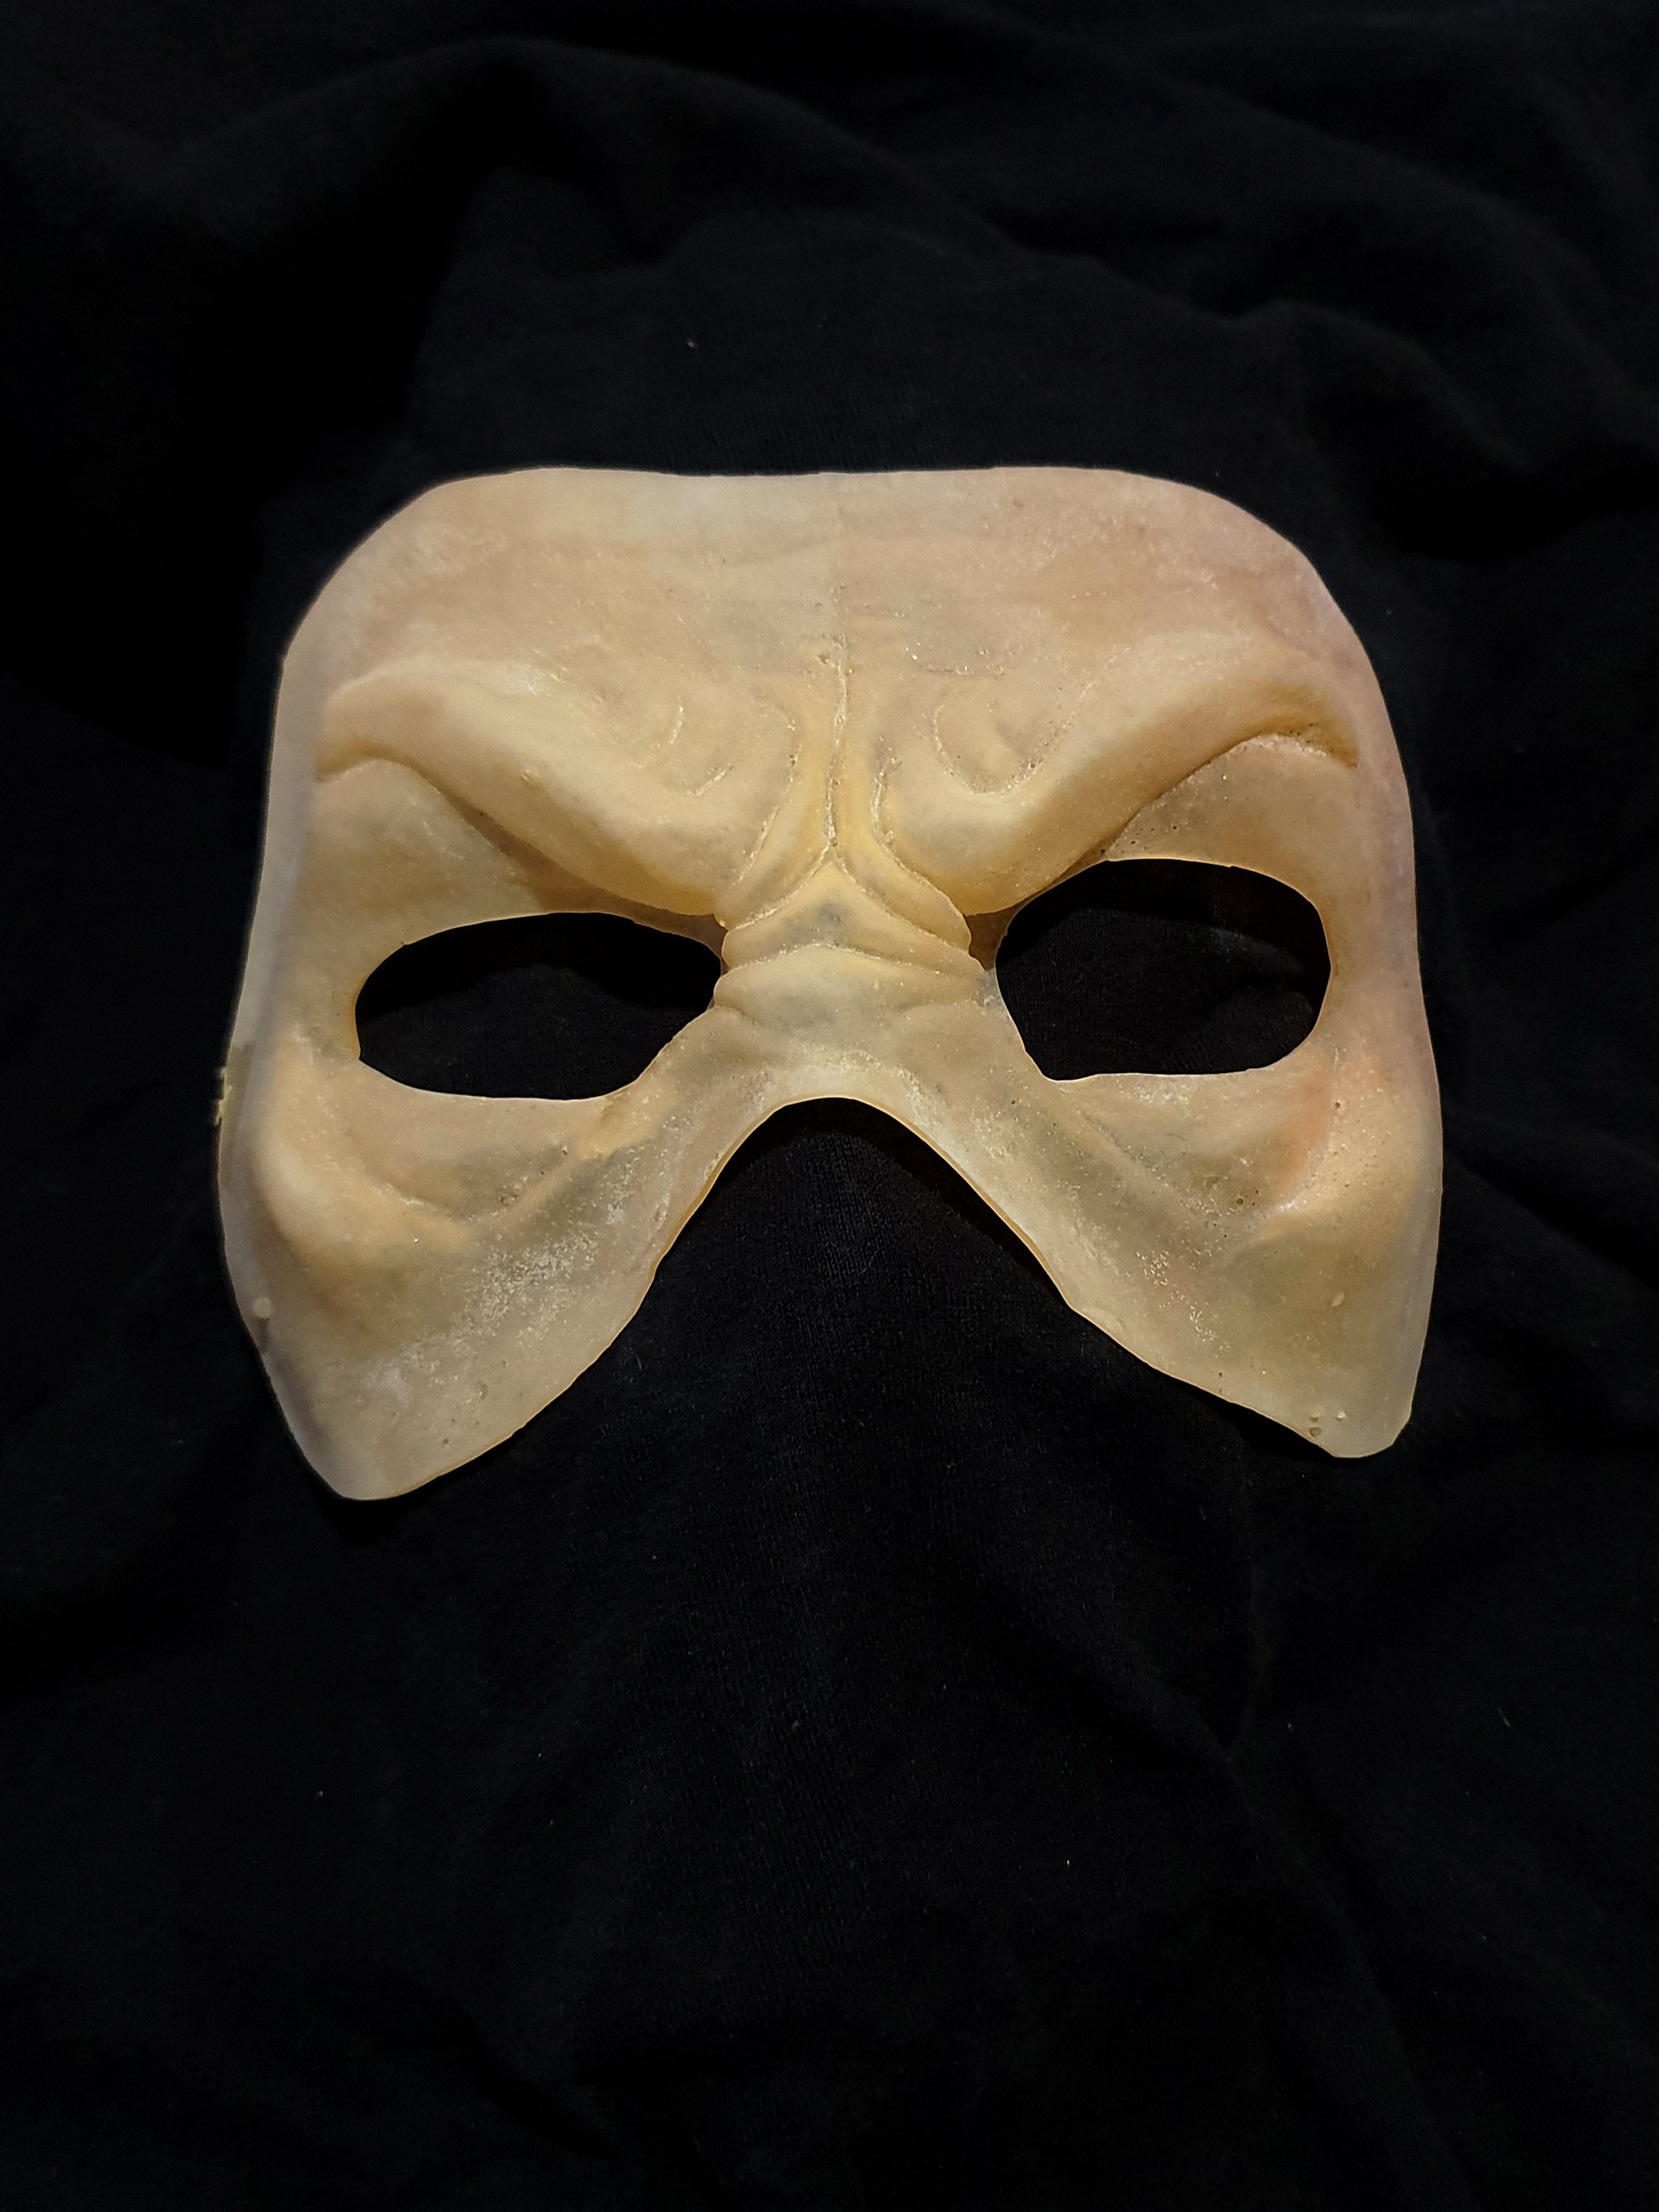
These latex masks form around your face and blend in with your skin. Facial movements made can be visible in the mask.
THE PAINTED MASK IN THE PHOTO IS AN EXAMPLE, YOU CAN COLOUR YOUR MASK ANY WAY YOU WISH.
You should always test any liquids well in advance of application, to be sure you have no allergies to the materials which will be used, particularly with latex products. We suggest painting a small circle of each product onto the back of your hand and leaving it to dry for 45 minutes. If in this time you sense a reaction, or if you have a known allergy to latex then you should not use this mask.
DIRECTIONS FOR USE: (You may need help with some of these)
- Offer the mask up to your face and using a piece of chalk, soft pencil or eye liner, mark any parts which overlap your face, or cover your hair line. Using scissors, you can cut off these excess pieces.
- If you are using coloured contact lenses, now would be a good time to fit them whilst your hands are clean.
- We suggest painting your base colour around your eyes before sticking the mask on, as it can be tricky to get under the edges of the mask once it is stuck in place. Only cover areas exposed by the mask, as ideally the glue should stick to clean skin.
- Using a cotton bud/Q-Tip, apply theatrical glue, spirit gum or Pros-Aide to the edges of the mask, taking extra care around the eyes. Wait for the adhesive to dry slightly and go tacky, then slowly position the mask on your face, starting from the eyes and working your way outwards. Press the edges down firmly for a good bond.
- Use latex paste or theatrical wax to blend any visible joins to your skin and stipple with a sponge. It is not recommended to use latex around your eyes as the fumes can cause irritation.
- Use face paints to colour your mask as you wish, covering both the latex mask and your skin. Start by painting a dark tone of your colour, being sure to cover all the creases, wrinkles and cracks. Then with a midtone cover lightly over the mask, this layer should not be pushed in to the cracks to help give depth to your paint. With a light tone you can pick out any highlights. Repeat this process for each of your other colours then you can add fine detail with a small brush.
- Now your mask is ready to go! Add extra accessories, blood, teeth etc to further enhance the look of your character. Go and have fun! Don’t forget to take photos!!
- To remove the mask slowly peel it away from your face. Often when purchasing your theatrical adhesive, there will be an accompanying removal fluid. Finally wash your face with soap and warm water.
- You may be able to use your mask again, so wipe the inside with a cleansing wipe, store back on the plastic mask packaging and store inside the re-sealable bag and keep in a cool dry place.
PLEASE NOTE: This item is the UNPAINTED face mask only with instructions.
Latex paste, adhesive glue kit , grease paint, wax, and remover not included.
Additional items you may need:
Eye Liner / Chalk • Scissors • Theatrical Glue • Cotton Bud • Blending Paste/Wax • Face Paint • Paint Brushes • Sponges
Vaseline • Towel • Glue Removal • Cleansing Face Wipes • Pot of water To Clean Brushes • Mixing Board/Plate


Reviews
There are no reviews yet.